What to Expect During an Exploratory Dig : A Step-by-Step Guide for NJ Homeowners
If you live in New Jersey or are in the process of buying a home—especially one built before the 1980s—there’s always a chance that an old underground oil tank could be buried on the property. A routine oil tank sweep using metal detectors can detect signs of buried metal, but sometimes the results are unclear. When that happens, the next essential step is an exploratory dig.
Many homeowners are unsure what an exploratory dig involves. This guide breaks down the process step-by-step so you know exactly what to expect and how it protects your home, your investment, and your peace of mind.
What Is an Exploratory Dig?
An exploratory dig is a controlled, small-scale excavation performed to confirm whether a suspected underground oil tank actually exists. After a professional oil tank sweep identifies an anomaly—such as an unusual metal signature or density change—an exploratory dig is used to physically expose the tank and verify whether it is indeed an oil tank.
It is non-invasive, cost-effective, and designed to deliver clear confirmation before any major work is done.
Step-by-Step Guide to an Exploratory Dig
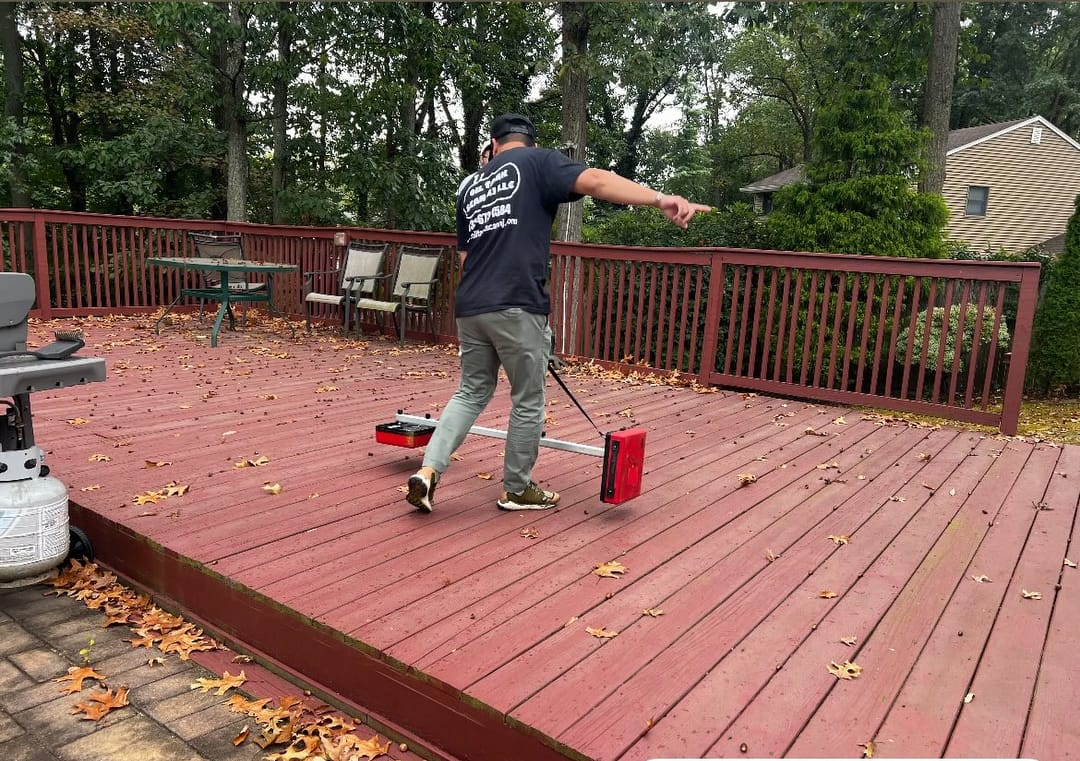
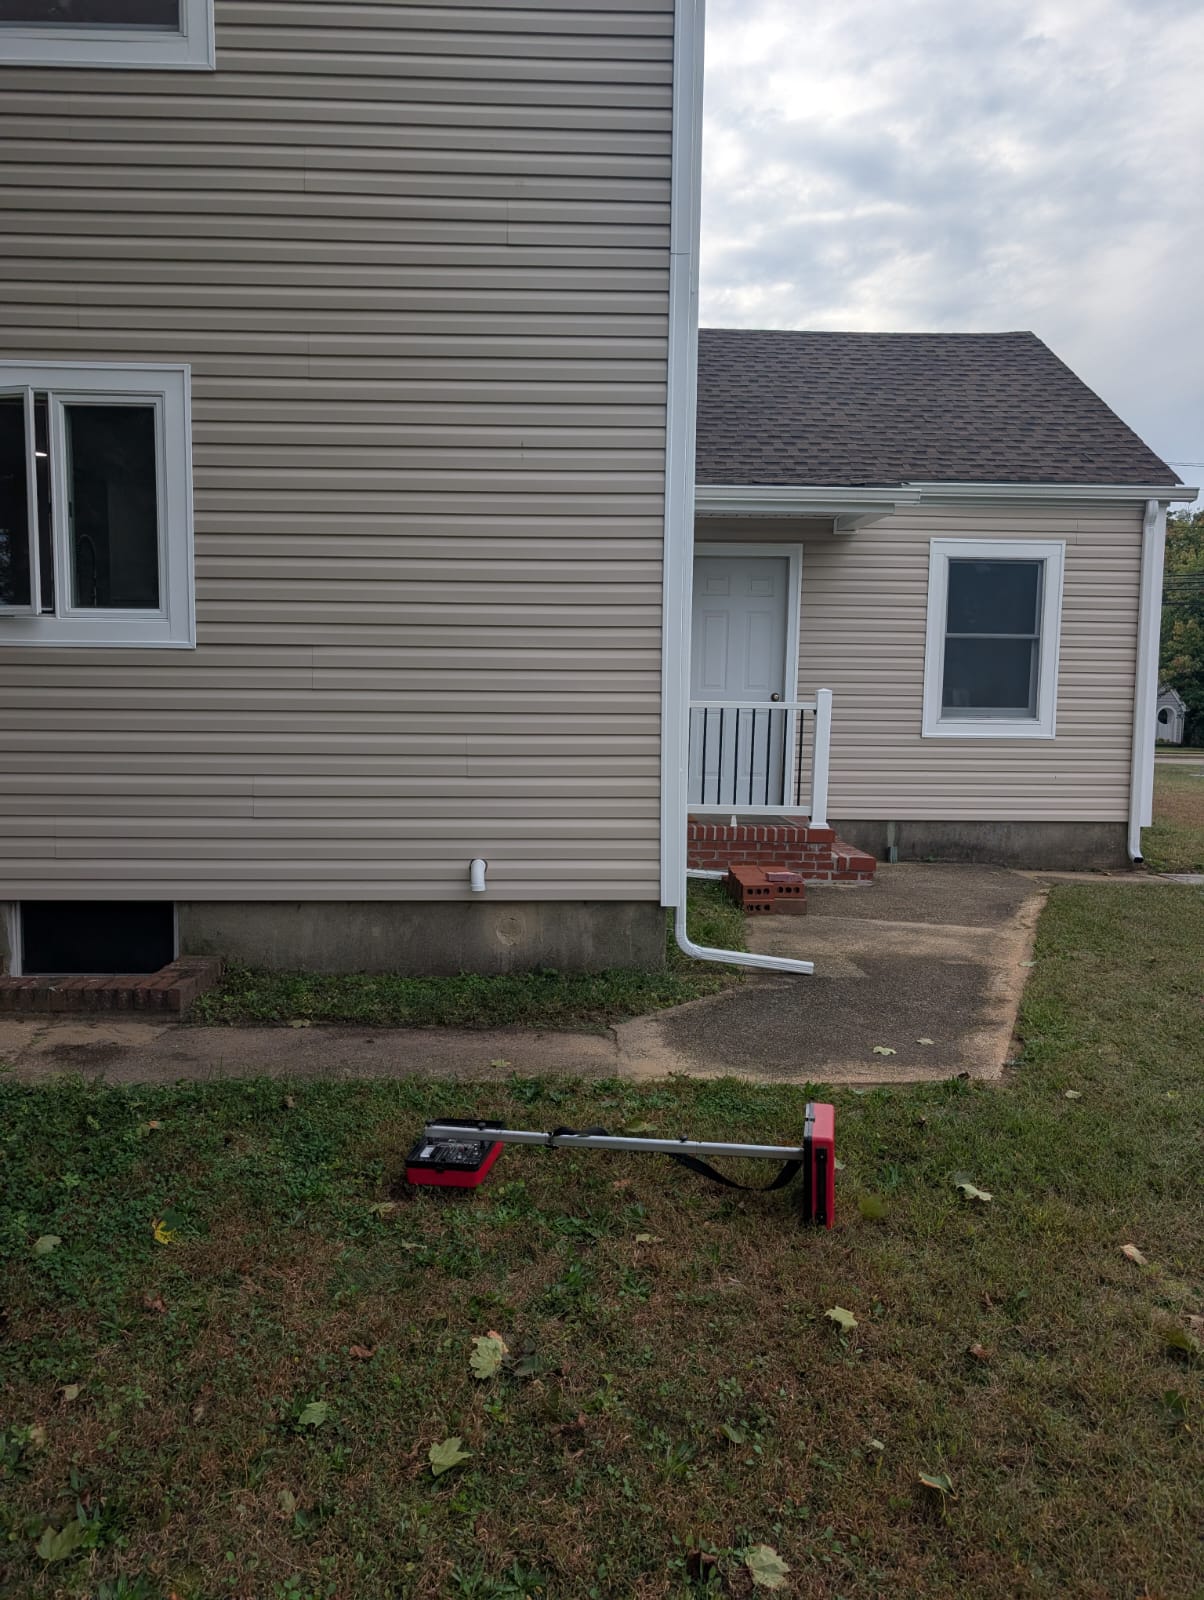
Step 1: Initial Oil Tank Sweep
Before any digging occurs, the property undergoes a metal detector-based tank sweep. This sweep identifies:
- Large buried metal objects
- Anomalies in the soil
- Old fill pipes, vent pipes, or metal debris
If something suspicious is detected, an exploratory dig is scheduled to confirm the finding.
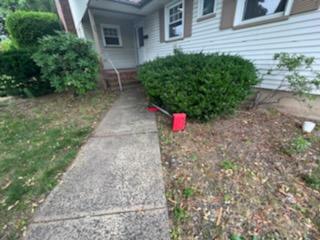
Step 2: Site Marking & Preparation
Once the potential tank location is identified, the inspection team:
- Marks the exact dig area
- Reviews property layout, utilities, and safety zones
- Ensures digging will not affect underground wires, gas lines, or irrigation
Homeowners don’t need to prepare anything—the professionals handle it all.
Step 3: Targeted Excavation
Using hand tools or light machinery, the team begins a small excavation, usually no larger than a few feet wide. This prevents unnecessary damage to the yard while allowing enough access to expose the suspected tank.
The digging is:
- Careful
- Controlled
- Focused only on the required area
The goal is to expose the top or side of the tank, or confirm that no tank exists.
Step 4: Identification & Confirmation
Once the buried object is uncovered, the inspector confirms:
- Whether it is an oil tank
- Whether it’s active, abandoned, or deteriorated
- Whether there are signs of leakage
- If remediation or removal is required
If no oil tank is found, the anomaly may have been:
- Old scrap metal
- Metal debris
- A pipe
- Construction material
In this case, no further action is required—saving the homeowner time and money.
Step 5: Documentation & Reporting
A professional report is provided, including:
- Photos of the dig
- Exact location and depth of findings
- Tank size and condition (if found)
- Recommendations for removal or remediation
- Environmental notes if leakage is suspected
This documentation is crucial for real estate transactions, insurance, and peace of mind.
Step 6: Cleanup & Next Steps
The dig area is filled back and restored as much as possible. If an oil tank is found, the next recommendations may include:
- Oil tank removal
- Soil testing
- Environmental remediation
- NJDEP-required reporting
Your inspection provider guides you through the entire process.
Why NJ Homeowners Should Never Skip an Exploratory Dig
Skipping an exploratory dig could mean missing:
- A leaking underground tank
- A major environmental hazard
- A costly future remediation
- A legal liability when selling your home
A quick exploratory dig ensures you’re fully informed about what’s buried beneath your property.
Conclusion
An exploratory dig is one of the smartest and most responsible steps a New Jersey homeowner can take when an underground anomaly is detected. It’s fast, precise, and could save you from tens of thousands of dollars in future cleanup costs.